A few quick answers help us understand your home, so we can give you a clear, upfront quote for Chimney Tuckpointing Mission
Plenty of people only think about their chimney when the first cool evening arrives and they want a fire. Others notice a problem in spring after a wet stretch of weather. Either way, a search for “chimney tuckpointing” usually starts with a simple question: does this need fixing now? Here you will find practical answers about mortar joint repointing for homes in Mission, including what the work involves, how long it takes and how to keep the chimney sound afterward.
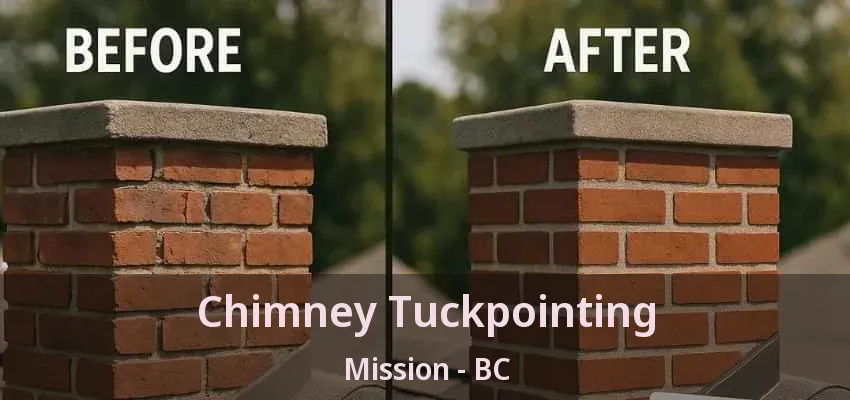
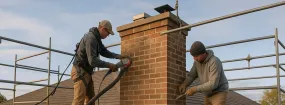
In everyday use, tuckpointing means the same as repointing: replacing failing mortar joints, one of the most common chimney jobs we do. Mortar is meant to be the sacrificial part of a brick wall: it is softer than the brick and wears first, which is exactly what you want. After enough seasons of rain, sun and temperature swings, joints shrink, crack and wash out. Tuckpointing removes that worn material and replaces it with mortar matched to the original in strength and color. Done properly, it restores a weathertight surface without disturbing sound bricks, so the chimney keeps its original look.
Repairs matter because chimneys tend to fail slowly at first and then expensively. We regularly open up a chimney where a minor issue, such as a missing cap or one cracked mortar joint, was left alone for a few seasons. By then, water has soaked the bricks, rusted the damper or softened the wood framing beside the stack. Work at that stage takes longer and uses far more material. Catching the same fault early usually means a short visit and a modest bill. There is a safety side too, because a damaged flue or liner can let heat and smoke escape where nobody expects them.
Most chimneys can be repaired, and a rebuild only makes sense when the structure itself is no longer sound. Repairs cover jobs like replacing damaged bricks, repointing worn mortar, building a new crown or resealing flashing. A partial or full rebuild comes into play when the chimney leans, when many bricks are crumbling at once, when mortar has failed deep inside the stack or when the top courses move by hand. The usual approach is to save whatever is solid and rebuild only the section that cannot be saved, which is often the part above the roofline.
Your chimney is most likely leaking at the crown, the flashing, the cap or through porous brick, though the stain rarely appears where the water gets in. Rain that slips past a cracked crown may travel down inside the masonry and show up at the firebox. Flashing leaks tend to stain the ceiling or the attic framing next to the chimney. An uncapped flue lets rain fall straight onto the damper, where it causes rust and a damp smell. Porous brick can wick moisture through the whole stack during long storms. We often test one area at a time with a hose, starting low and working up, so the repair targets the real entry point rather than a guess.
The most common signs show up as water, debris or poor performance. Watch for:
Outside, look for white staining on the bricks, gaps in mortar joints and a cap or flashing that looks loose. Any one of these is worth a closer look by someone who can reach the chimney safely.
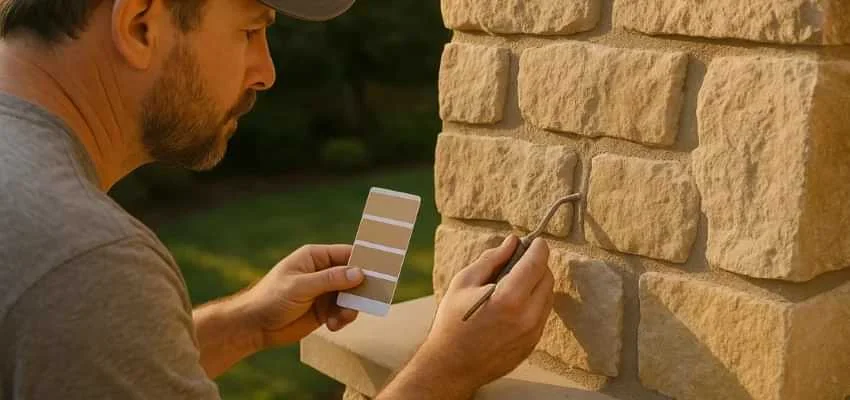
Joints that have shrunk back from the brick face, cracked along the edges or turned soft and powdery are the signs we look for, and they are usually visible from a short distance. Healthy mortar, by contrast, fills the joint, sits tight to the brick on both sides and is shaped to shed water. On the roof, a light scrape with a tool tells us whether it still holds together. We also note where the damage sits: the top few courses and the weather-facing side usually go first. Repointing those areas promptly keeps water from reaching the core of the chimney.
Chimney bricks usually crumble because water gets into them and then freezes, evaporates or carries salts to the surface. In cold weather, trapped moisture expands as it freezes and pops off the face of the brick, which is called spalling. In milder climates, repeated wetting and drying and salt deposits slowly break down the surface instead. Mortar that is harder than the brick, often from an earlier repair, makes things worse because it forces the brick to take the stress. Crumbling bricks are a signal to find and stop the water source, not just to swap out the damaged units.
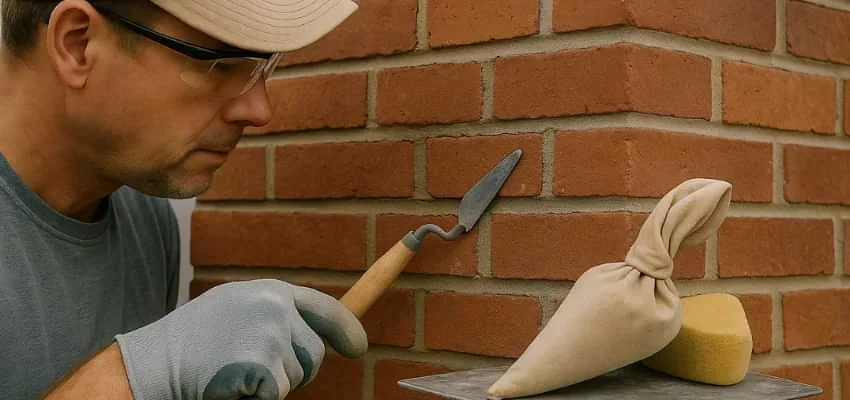
The main tools are an angle grinder with a diamond blade or a mortar-raking attachment to cut out old joints, plugging chisels and a hammer for detail work, a stiff brush or compressed air to clear the dust, and narrow pointing trowels to pack fresh mortar in. A jointer or striking tool shapes the finished joint to match the original profile. Masons use dust control and protection for the roof and windows, since grinding throws fine dust. Mortar is mixed in small batches so it stays workable. Seeing the right tools on site is a good sign your mortar joint repointing will be done carefully.
At first they may, even when the color is well matched. Fresh mortar usually dries lighter or darker than old, weathered joints, and it can take months of sun and rain before the difference softens. Matching the sand color and the joint shape matters more than the cement, so ask to see a dried sample. Repointing a whole face of the chimney, rather than scattered joints, gives a more even look. If appearance is important to you, discuss it before the “chimney tuckpointing” work starts so expectations are set from the beginning.
Sometimes the most useful thing is simply knowing whether there is a problem at all. A visit from Chimney Sweep Mission gives you that answer, along with practical advice for keeping things in order. Call (778) 745-4769 to set one up.
Flue last swept long ago? Chimney Cleaning in Mission
Chimney Sweep visits that leave Mission living rooms clean
What's included in Chimney Sweep Services around Mission?
What Fireplace Experts check in your Mission chimney
Logs lifted, embers reset: Gas Fireplace Cleaning near Mission
Yearly Gas Fireplace Maintenance in Mission, before the cold arrives